
 Search Here
MISC
Parts List
Robot Forum
Chat
Member Pages
Axon MCU
Robot Books
Shop
Contact
SKILLS
How To Build
A Robot
Tutorial
Calculators
Mechanics
Programming
Miscellaneous
Robots
Space
HARDWARE
Actuators
Batteries
Electronics
Materials
Microcontrollers
Sensors
SCIENCE
Robot Journals
Robot Theory
Conferences
This robot was built as a locomotion type experiment, attempting to cross the efficiency of wheels with the advantages of legs. I worked on it on and off for many years, with a half dozen different versions. I'm currently thinking of a much better v6, and one day I'll actually make it . . .
A video showing the assembly of the tri-claw mechanism for v5, followed by action scenes!
I also used a physics simulator, Phun 2D, to help determine the optimal tail length:
To my knowledge this is the first quantitative analysis of robot tails ever done. Tail lengths on the many other climbing robots were guessed based on subjective experiments. Feel free to download my Carpet Monkey Phun file.
CAD Info
Feel free to drag around the CAD file. You will have to redefine the center to rotate the robot properly.
You may download the Carpet Monkey DWF, and the AutoDesk 3D CAD and CNC files (5mb).
Claw Assembly
I decided to redesign the next Carpet Monkey using all my new skills I learned within
the last few years (before 2006). I learned CAD, and knew how to calculate torque of the shape
changing legs. I also learned how to use a CNC to manufacture it for me.
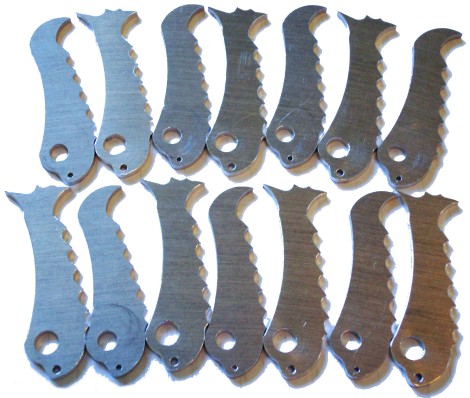
Here are a bunch of claws I made. All of these were mistakes for some reason or another.
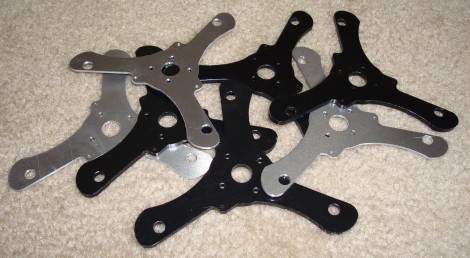
Then I made the center pieces to attach the claws. Half was plastic, and the other half aluminum. I forgot why I did that though, but I remember having a good reason . . . Small non-threaded spacers connected it all together. A screw passed through it and was tightened to hold it all together.
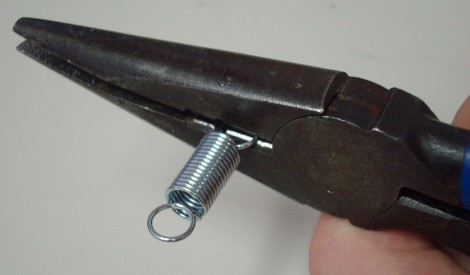
The springs I bought were closed loop, so I had to open them up. I got some metal cutter pliers that had this hole in it for some odd reason.
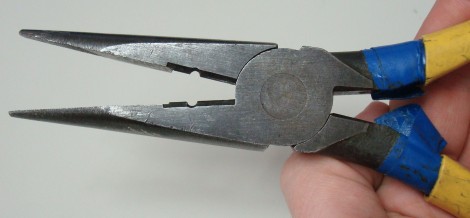
One end of the metal loop went into the hole so that it didn't get cut, while the other end of the loop was snipped off.
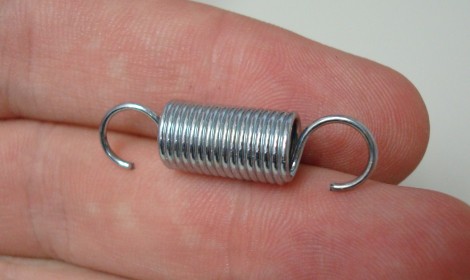
This is what the finished modified spring looks like:
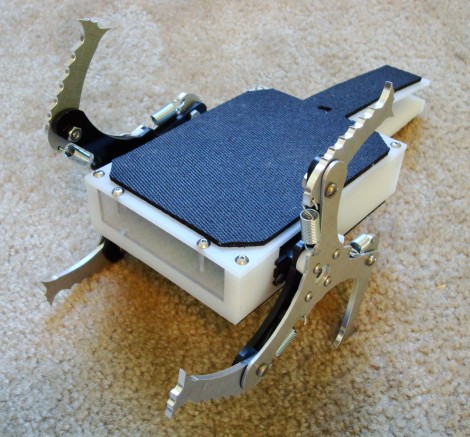
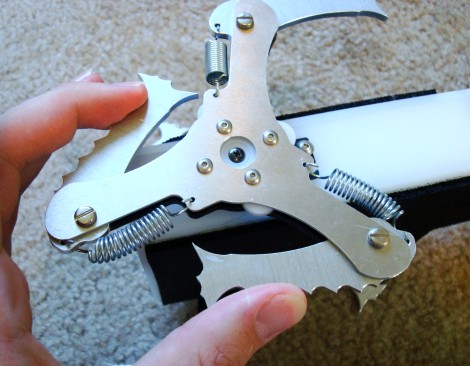
Then I attached it to the base. Notice wherre the springs are located. In the old versions, the springs would compress, however they were often more like to bend out of plane. With this new arrangement, the springs would instead expand. I calculated the spring constant so that the claw would fully bend under 50% of the robot weight, which subjectively seemed to be the most optimal. I also tried really stiff springs by accident (because I suck at math), but they performed very poorly.
Kind of looks dangerous . . . I used to work for Batman, did you know?!
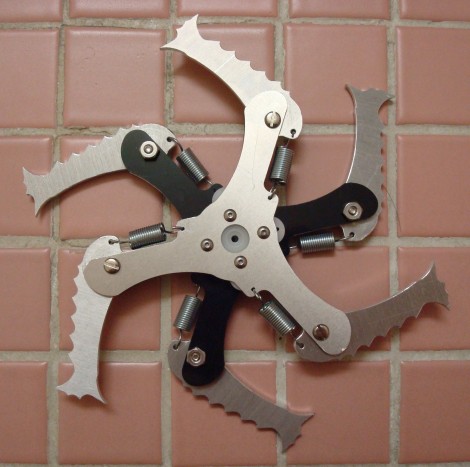
The concept of the springs were to smoothen out the robot motion, increase the grabbing reach, yet also reduce the torque by reducing the required moment arm (when the claw bends in, the moment arm is reduced).
Chassis Assembly
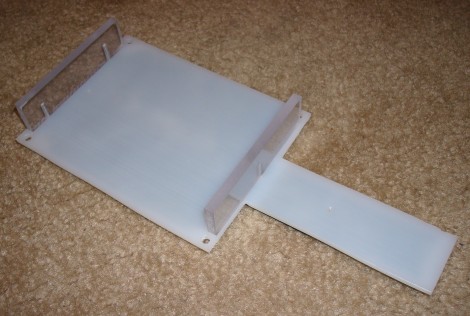
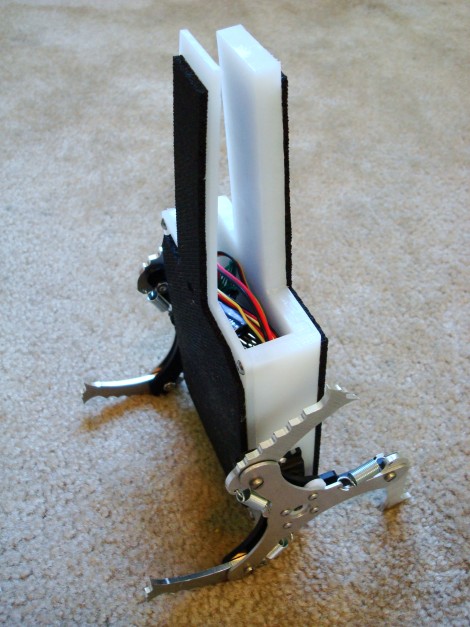
A sheet of HDPE, with two pieces of clear plastic screwed in vertically.
The clear plastic would act as windows if I decided to use a wireless camera.
I looked into it, but didn't want to pay the ~$100 or so on EBay for one.
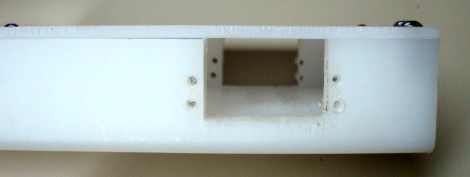
I milled out this area and drilled screw holes in a U-shaped piece of HDPE for servos.
Everything all screwed together . . .
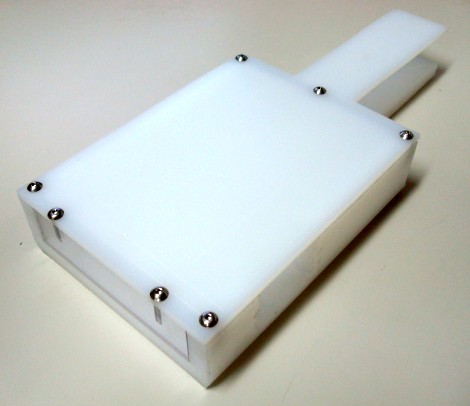
Front view
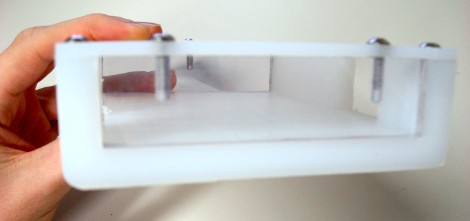
Side view

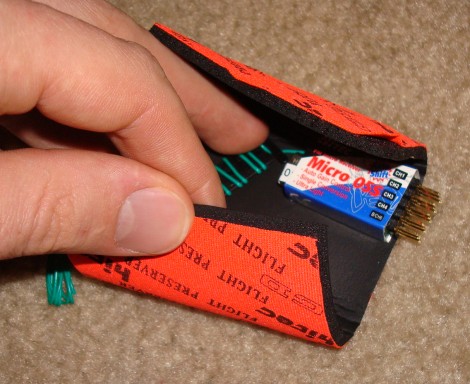
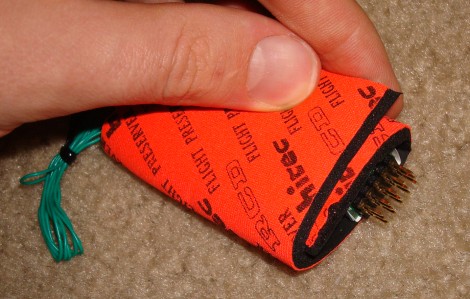
Electronics are added: two servos, a 6V battery, and a micro receiver. The battery is held in place by Velcro. Make sure the servo uses a metal output shaft, the plastic ones kept breaking under the high shock.
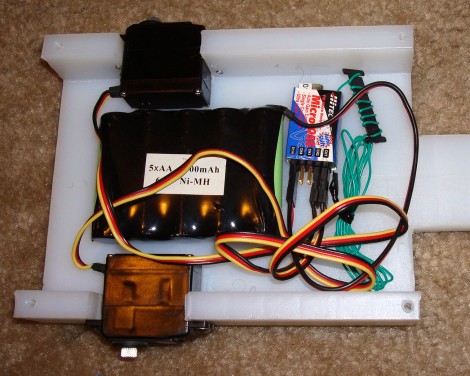
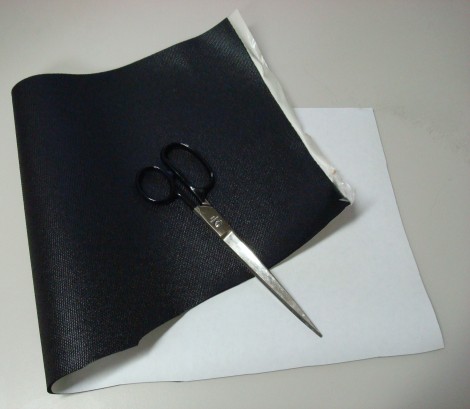
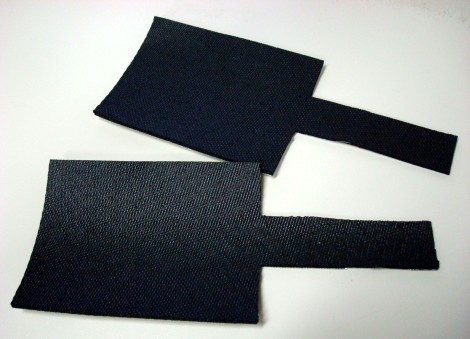
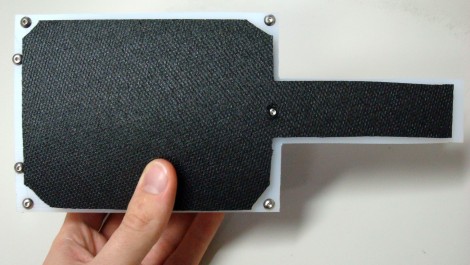
I also attached a high friction rubber matt (colored black) to both the top and bottom to increase climbing friction of the robot body. It has a sticky side to make attachment ultra easy. I got a ginormous sheet of this stuff that will last forever from McMaster for like $15 if I remember right. Its the same stuff I used to make my ERP wheel treads.
Its always good to protect the crystal - they break with high shock. It was a problem I had on earlier Carpet Monkey versions when it 'gracefully' flipped down a staircase . . . dozens of times . . . Just use the padded foam that comes with most transmitters.
A headstand demonstration. I always imagined this to be an antennae positioning mechanism, or perhaps elevating some type of sensor above objects . . .
This is what Pikachu would look like if he was a Carpet Monkey:

Version 5 was sort of a failure due to only one reason: the Hitec 225MG servo. The worst servo I have ever used, the gears constantly broke and the circuitry constantly fried. I'd have to rebuild the body again to accommodate another servo. So I gave up and decided to go on to v6 . . .
Version 6
Version 5 used a design from back in 2005 but took me years to finish, and my skills have greatly improved since.
I have a much better design in my head, maybe one day I'll get around to doing it . . .
Society of Robots copyright 2005-2014