
 Search Here
MISC
Parts List
Robot Forum
Chat
Member Pages
Axon MCU
Robot Books
Shop
Contact
SKILLS
How To Build
A Robot
Tutorial
Calculators
Mechanics
Programming
Miscellaneous
Robots
Space
HARDWARE
Actuators
Batteries
Electronics
Materials
Microcontrollers
Sensors
SCIENCE
Robot Journals
Robot Theory
Conferences
Line Follow Robot Tutorial
MOBOT 2006 Robot Competition
This robot was built for MOBOT 2006, a very difficult
line following competition held every year at Carnegie Mellon University. By documenting this
robot I can at the same time teach you how to build a line following robot.
Without further ado, watch the video!
The line tracking is done with two photoresistors, using a case-based three state program to decide which way to turn.
Design in CAD
As usual I always first design my robot in CAD. Here are a few pics. That big
square thing on the top is the sun/rain shield I made for it.
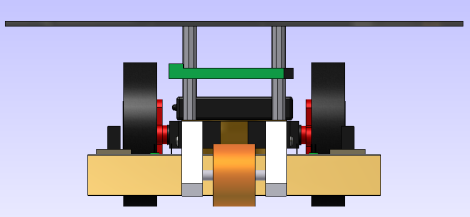
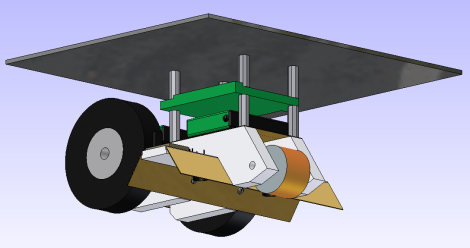
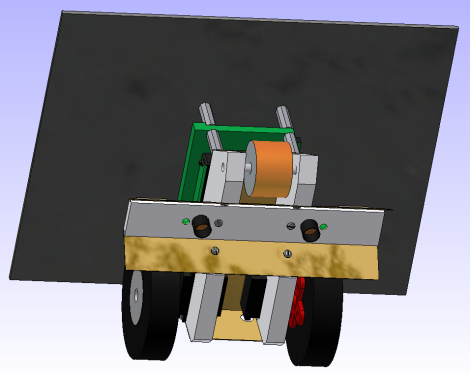
Feel free to drag around the interactive CAD file:
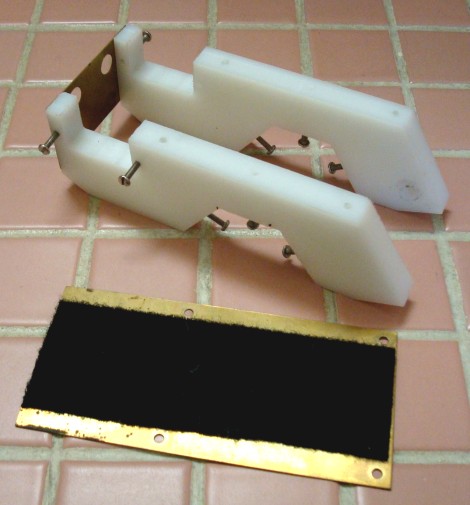
In Construction Pics
I made all parts using a manual mill and drill press. The big white blocks are
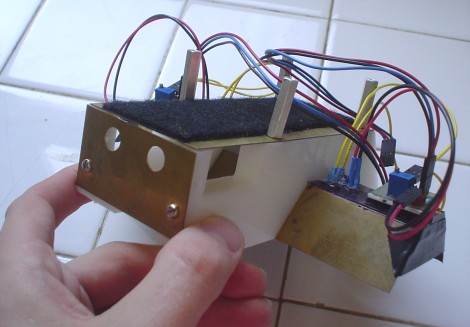
made from HDPE. The metal is a thin 1/16" bronze sheet.
I put velcro on the bronze as shown.
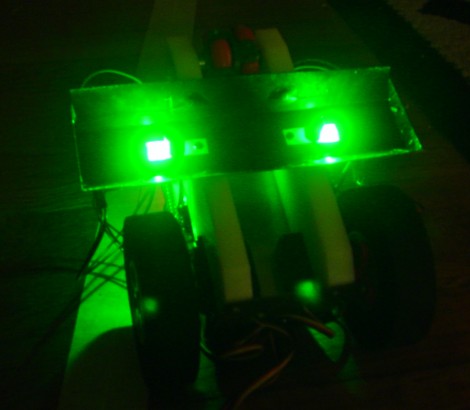
Now I added the omni-wheel and photoresistor sensors.
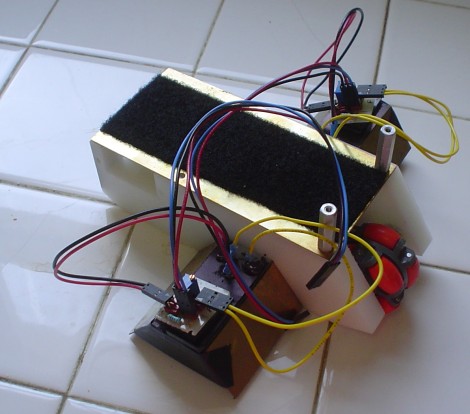
Spacers and a back copper plate was added. Those holes in that back plate are for servo wires to pass through.
Now I add both 6V 1800mAh NiMH batteries.
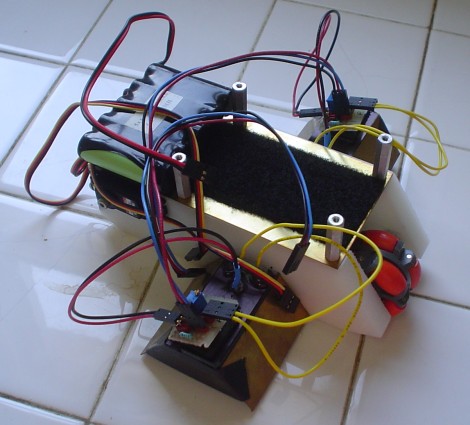
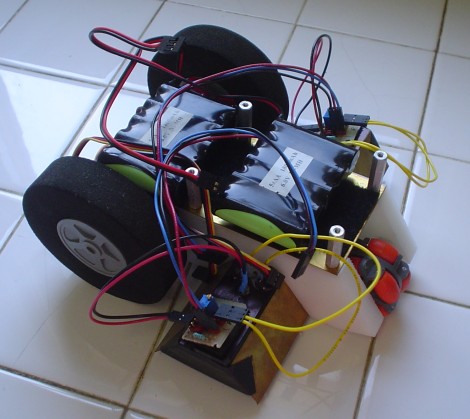
Wheels and a second battery are added.
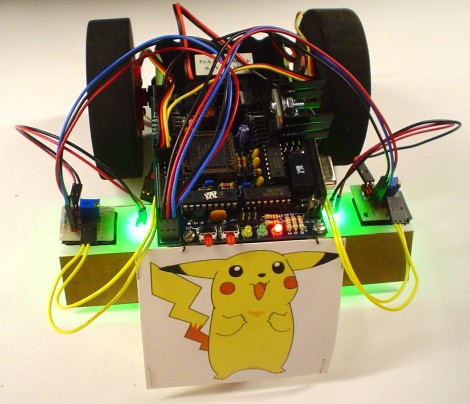
Then I connected the no longer sold Cerebellum (PIC16F877) microcontroller to the top of the four spacers. Pikachu is added. And it's turned on so that's why its glowing green.
I just thought this lights-off shot looks cool . . . mmmmm 4000 candela LED's are great!
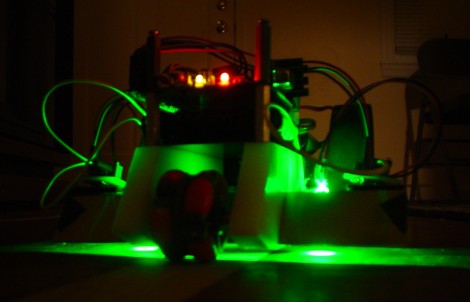
And a bottom shot.
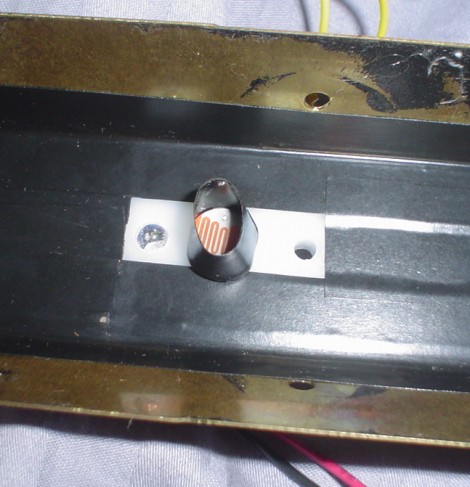
A close-up of the LED and photoresistor.
Source Code
I have zipped up my source code for anyone to use and modify here.
Remember, please give credit and link back if you use this code!
Line Follower Source Code (April 20th, 2006)
Time Spent on This Robot
I honestly don't remember exact hours, but I think it was about 5 for CADing, 15 for manufacture of parts and correcting dumb mistakes,
about 5 hours for coding, and another 5 for testing and debugging. Another 5 hours were spent on filming and documentation.
That's an estimated ~35 hours.
Society of Robots copyright 2005-2014