
 Search Here
MISC
Parts List
Robot Forum
Chat
Member Pages
Axon MCU
Robot Books
Shop
Contact
SKILLS
How To Build
A Robot
Tutorial
Calculators
Mechanics
Programming
Miscellaneous
Robots
Space
HARDWARE
Actuators
Batteries
Electronics
Materials
Microcontrollers
Sensors
SCIENCE
Robot Journals
Robot Theory
Conferences
This robot was built as a locomotion type experiment, attempting to cross the efficiency of wheels with the advantages of legs. I worked on it on and off for many years, with a half dozen different versions. I'm currently thinking of a much better v6, and one day I'll actually make it . . .
A quick evolution documentary of all the Carpet Monkey robots is shown in the first video.
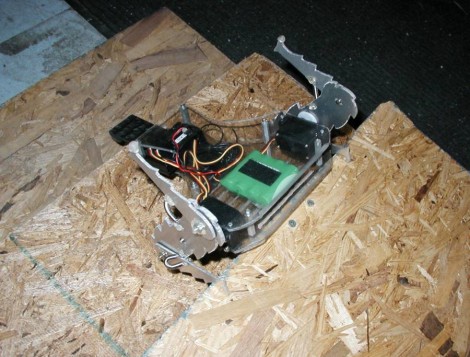
Version 1
Version 1 was done as a project for a class with one other person. It was just a conceptual thing, but showed lots of promise.
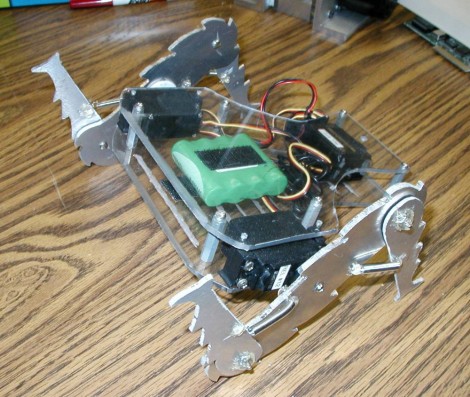
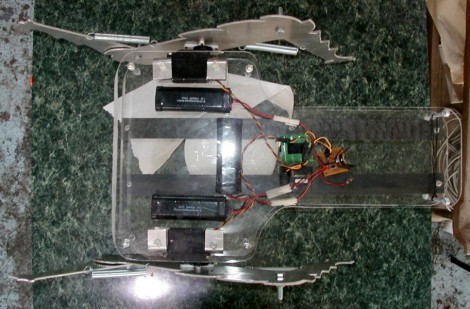
Its just basic remote control, with a receiver, battery, and two servos. The chassis was made from Lexan.
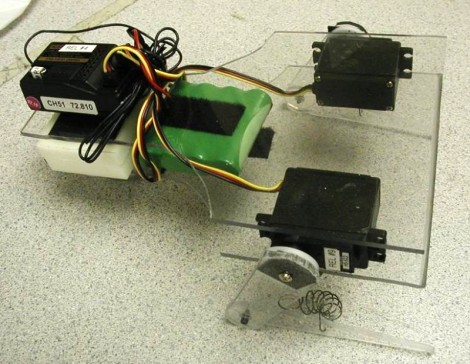
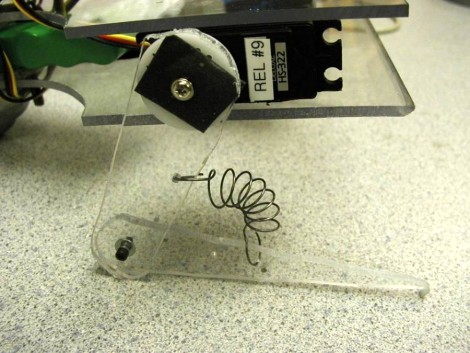
Springs were used to allow the arms to flex inward. This gave the arm reach to climb, but shortened when needed to reduce the moment arm and smoothen movement.
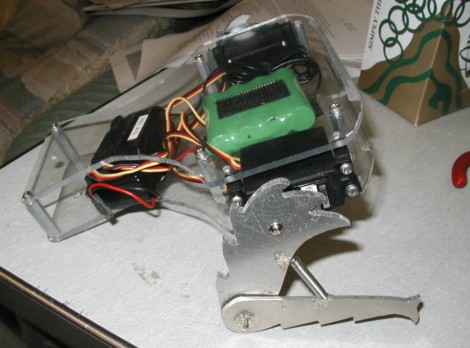
Version 2
Realizing version 1 had promise, a new version was made fixing all the various problems.
The biggest problem was that the Lexan claws didn't have much grip, and wore away quickly.
Aluminum claws were made by first designing the shape on paper . . .
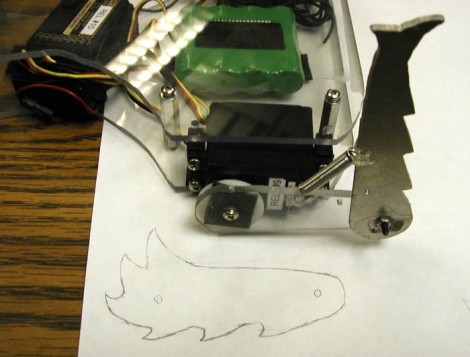
cutting the design out . . .
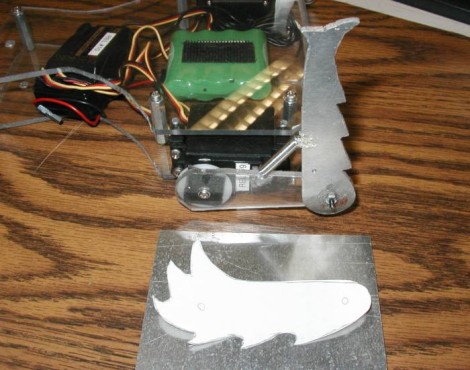
tracing it onto aluminum using a marker . . .
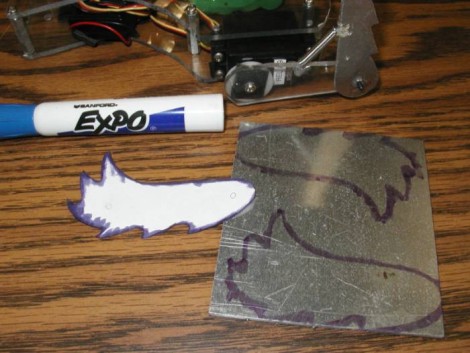
then cutting it out with a bandsaw and a drill press for holes.

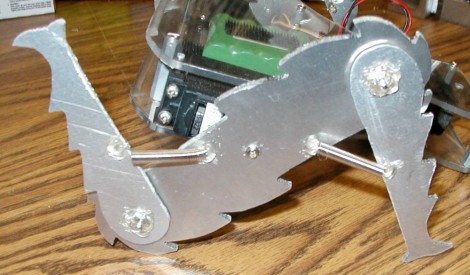
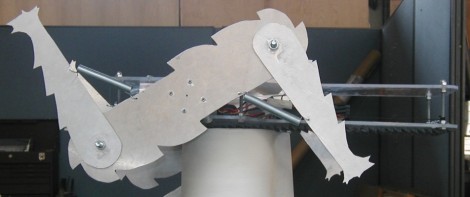
But the single claw design was inefficient. If I added a dual claw, shown below, it would double the speed and smoothen out the robot motion.
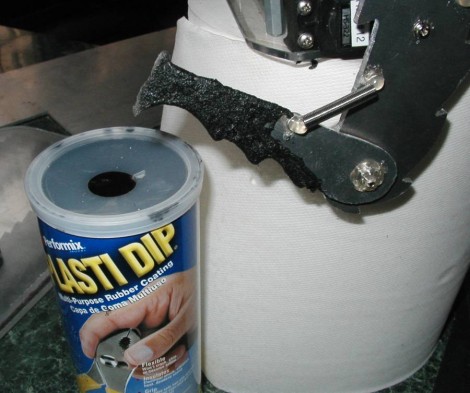
I still wasn't happy with the gripping power of the claw, so I tried out some Plasti Dip on the claws. It was fairly weak and wore away fast. I tried adding some fine sand (that I 'borrowed' from a Mars rover test bed, hehe) to the Plasti Dip mixture to improve dip rigidity, but it still wasn't good enough . . .
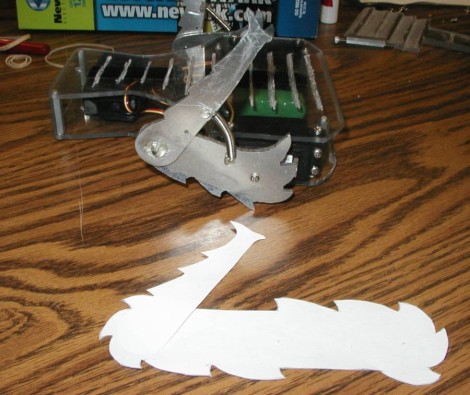
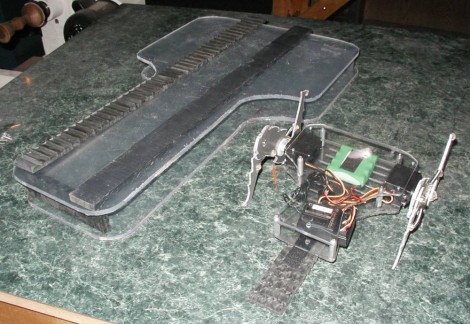
I wanted Carpet Monkey to climb stairs, but its body would slip a lot on each step. As an attempted solution, I created a one-way friction grip thingy out of a sheet of rubbery plastic I bandsawed into this below:
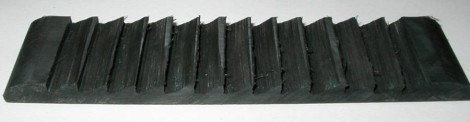
and attached this 'tail' to the bottom of the robot using Velcro:
It just barely managed to climb 4" stairs. Without the tail it didn't stand a chance.
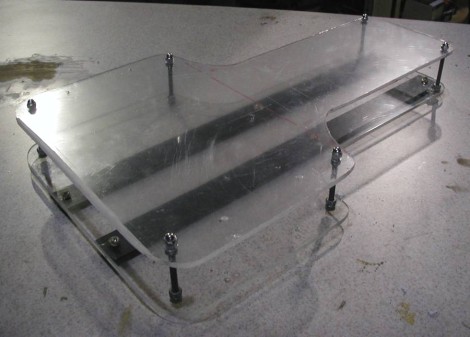
Version 3
Version 3 was the first Carpet Monkey failure, but was meant to be a scaled
up version. Note: I accidentally labeled another
robot in the video as v3 but it was actually version 2. Version 3 just didn't work
because I didn't properly calculate torque before building the robot. Hey, I was
a noob back then! Anyway, enjoy the pics . . .


Here is the chassis next to version 2 for size comparison.
Some spacers added . . .
One of the dual claws, with the largest servo I could find at the time (but wasn't strong enough).

Fully assembled with springs added.
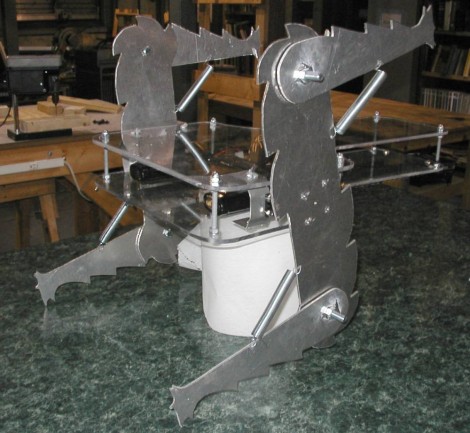
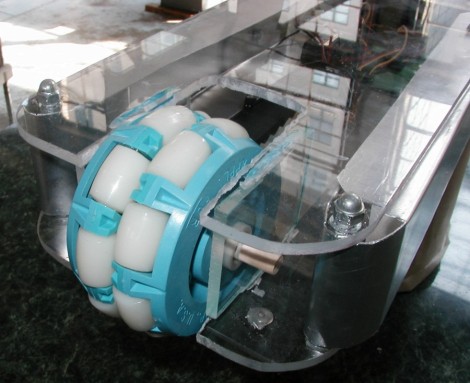
Carpet Monkey effectively drags it's butt, so I added a big caster wheel there to improve efficiency.
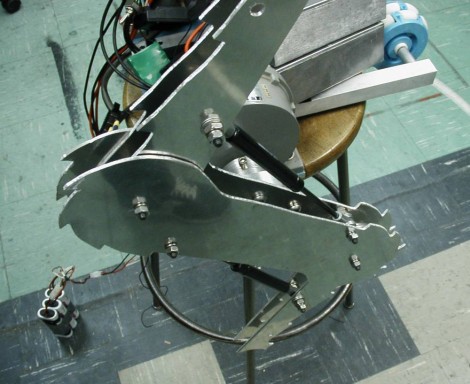
Version 4
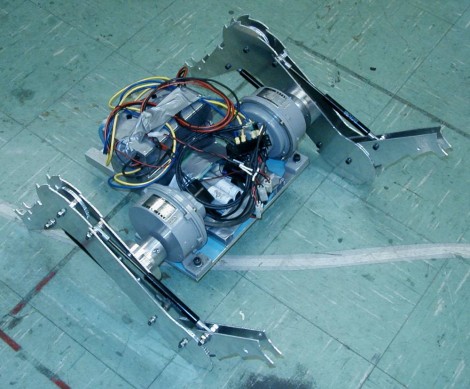
After realizing servos were too weak in v3, I decided to go to DC motors.
I attached them to a big steal plate, used some motor drivers, attached my
claws, and wallah - it didn't work again! I'm so amazing!
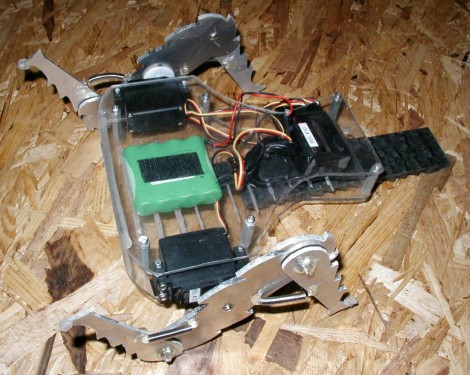
In v3, the claws were a bit flimsy, so I double layered them. I also used a compression pneumatic spring this time, but it was too stiff . . . should have used a much lower spring constant . . .
A rear view, with metal box motor drivers, and my caster wheel again.
These claws took forever to CNC, had to make *too many* by hand . . .

After this failure, I decided to never ever build a robot again without first fully calculating the whole darn thing. Math would have saved me tons of money/time!
Society of Robots copyright 2005-2014